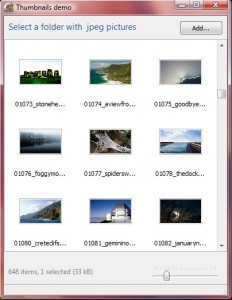
An extra thumbnail post, the last one for a while. I will show you how to edit caption of the thumbnail and how you can rate it using your mouse. The main activity is done in the CellHit event so make sure that CellSelect is set to false, somehow this must be done in code so a good place to do it is in formCreate event.
Here is the code for CellHit. One thing to remember about this event is that y is counted from the bottom and not from the top as normal. This can be a bit confusing.
procedure TfrmMain.viewMainCellHit(Sender: TObject; Canvas: TCanvas; Idx, x, y: Integer; var Selected: Boolean); var i: Integer; begin if (y < 20 ) then begin i:= 0; if (CellStyle = 0) and (y < 20) then i:= 1; if i <> CellEditIdx then begin CellEditIdx:= i; ViewMain.Invalidate; end; end else begin if CellEditIdx <> -1 then ViewMain.Invalidate; CellEditIdx:= -1; end; if CellStyle <> 1 then Exit; // Check if over rating stars if (x > HSX) and (x < HSX + 70) and (y < 20) then begin CellEditIdx:= 2; i:= 1 + (x - HSX) div 14; if i <> HotStars then begin HotStars:= i; ViewMain.Invalidate; end; end else begin if HotStars <> -1 then ViewMain.Invalidate; HotStars:= -1; end; end; |
This event code is called whenever mouse is over a cell to check if it is selected we use it to do some checking and set some flags which we use in the OnMouseDown event.
CellEditIdx is used to signal what to check for. If it is one we simply check if mouse is in the lower part of the thumb if it is we mark it and do a repaint. The same with rating we do a check to see if it is within the rating area and do a repaint if it changes value.
In the MouseDownEvent the action is done. If rating is active the selected thumb will be updated with the current rating. If rating is not active an editbox is activated giving you a chance to change the filename of the selected thumb. Note that in demo changing the name of the thumb will not change the real name of the file, it is just for showing you how to do it.
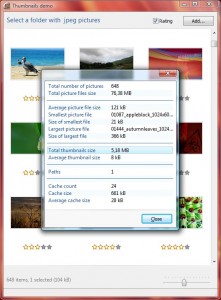
When tumbnail component got focus you can press F8 to see some statistic of current state.
Hope this helps a little. You should also update the rkView component used in this demo as some small bugs have been fixed. I will later publish rkview as a single post in its own with some more samples.
Next post up is how to adjust brightness, contrast and saturation to an image.
Download: Cool thumbnails

